Goldfish made of plasticine. Plasticine fish. Step-by-step master class.
Plasticine is a unique material for children's creativity. In a box of blocks you can find all the colors of the rainbow and more, which means it opens up excellent opportunities for quickly learning colors with your kids. In addition, to make the pliable mass soft, children's fingers will have to work hard, which means that working with plasticine develops fine motor skills of the hands. You can also form any figure from plasticine, which perfectly develops the spatial imagination of the developing brain. And finally, you can draw on plasticine, like on a canvas, by pressing the relief with a toothpick or any available tools. All these possibilities of plasticine are demonstrated in the given lesson on sculpting a fish. This work can be done even by the youngest children, who will definitely enjoy unique creative experiments under the guidance of mom or dad.
Materials for creating a fish:
- a block of plasticine of any color, preferably bright;
— ribbed cap from a felt-tip pen;
- 2 shiny beads;
- a drop of red plasticine.
Modeling a fish from plasticine for children in stages
1. Bright orange and yellow are perhaps the most favorite colors for babies. Choose one of them to create a craft. Or give the young sculptor the opportunity to choose, and you will see which shade he likes the most. For fragile children's fingers it is very difficult to work with hard plasticine; it is better to take the softest types of material. The initially prepared piece should be thoroughly kneaded in your hands. A ribbed cap from a felt-tip pen will be needed to create the fins and scales of the fish.
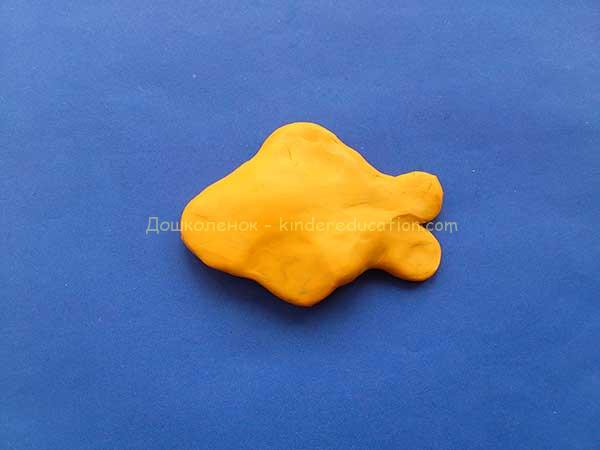
2. Press the prepared soft ball with your fingers over the entire surface, make a cake (thick enough). Press the cake down on the sides, creating an oval outline for the fish’s body.
3. Using your fingers, pull the plasticine on the tail and fins, forming the desired figure.
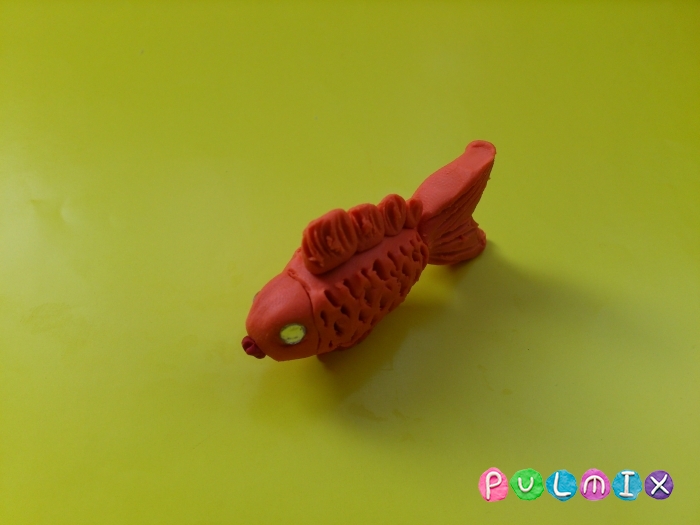
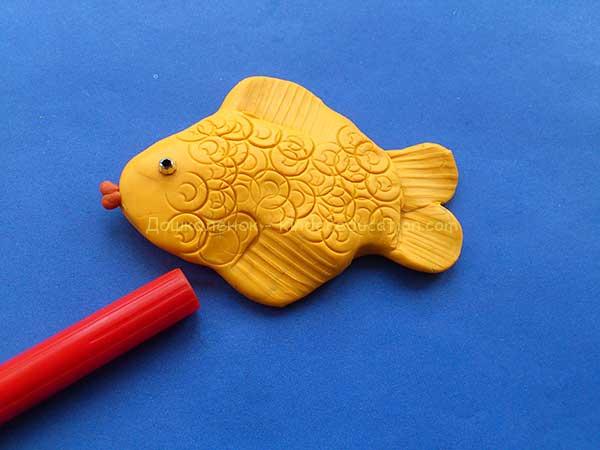
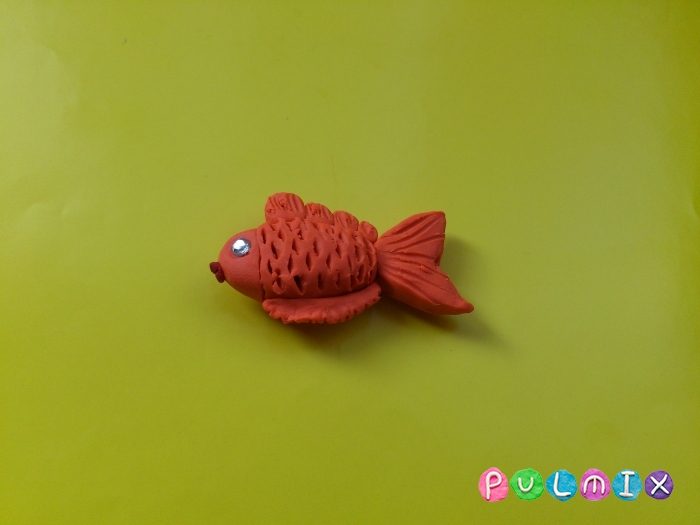
4. Sideways press the cap of the felt-tip pen onto the plasticine on the fins and tail. Roll the plastic part over the plasticine. Under the influence of such a tool, membranes will appear on these parts, like on real fins. The same must be done on the other side of the fish. Next, use the end of a felt-tip pen to place a lot of round pieces on the fish’s body - this will be an imitation of scales. Instead of an eye, glue a shiny bead, instead of a mouth, a drop of red plasticine. Duplicate the scales and eye on the back side.
That's all. It will not be difficult to sculpt a wonderful craft for the youngest children. The plasticine fish turned out bright and cheerful. When the plasticine hardens, you can play with it, and if the product breaks, it can be easily restored.
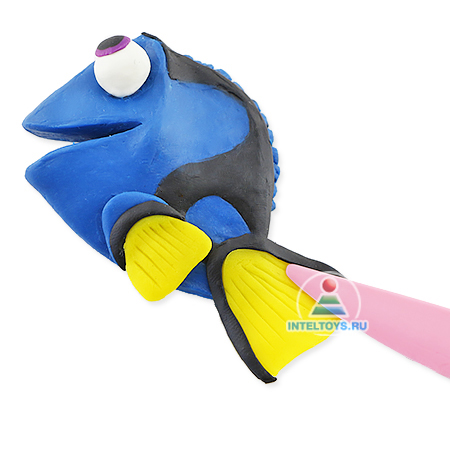
Familiar plasticine fish? Of course, this is the famous Dory - the sweet but forgetful heroine of the popular cartoon. Now you can make it yourself to create even more exciting adventures!
Conduct a simple modeling master class with your child to develop his fine motor skills, perseverance and accuracy. The result of your joint creativity is a neat figurine that exactly replicates the original from the big screen.
Plasticine fish “Dory” step by step
To create a craft, prepare ordinary children's plasticine (blue, yellow, black, white, lilac), as well as:
- plastic stack
- rolling pin
- modeling board
To keep clothes perfectly clean, put your child on a children's apron for creativity.
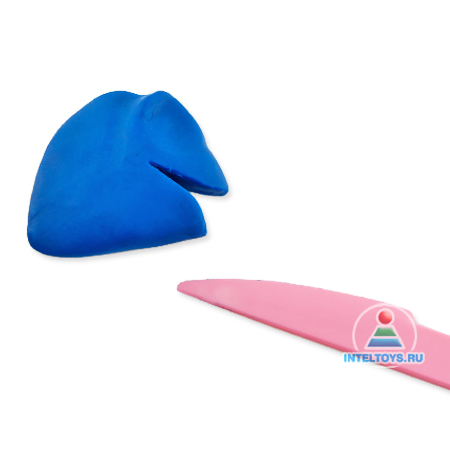
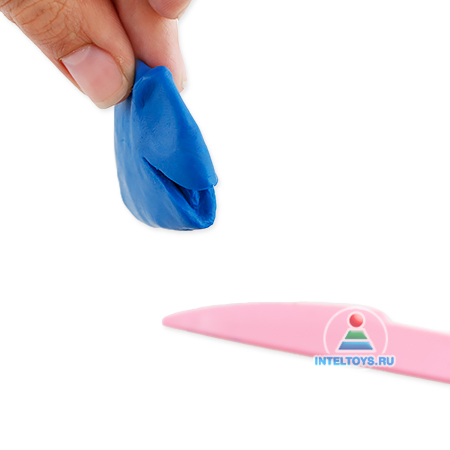
STEP 1. Shape a piece of blue plasticine into a teardrop shape. The sharp tip remains untouched, but the wide one needs to be processed on both sides: make an incision on the left (the character’s future smile), and on the right, flatten it with your fingers and form convex tubercles over the resulting indentations (the eyes will be located under them).
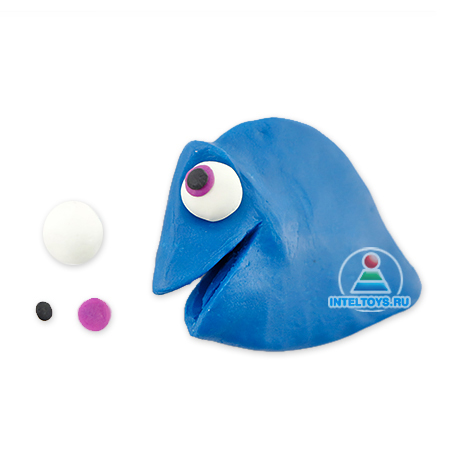
STEP 2. Also try to make the mouth of the fish in relief: carefully sculpt the tongue with a stack.
It is important that the figure is symmetrical on both sides.
STEP 3. Attach lilac and black cakes to the white ball (size in descending order) - you get an eye!
STEP 4. Roll out black plasticine thinly using a child's rolling pin and use a stack to cut out an ornament for Dory's scales. The shape of this pattern resembles the letter “a” with a small loop and a long hook curved to the left. You need to make 2 such parts: attach them to both sides of the craft, so that between them there is a blue comb about 1 mm high.
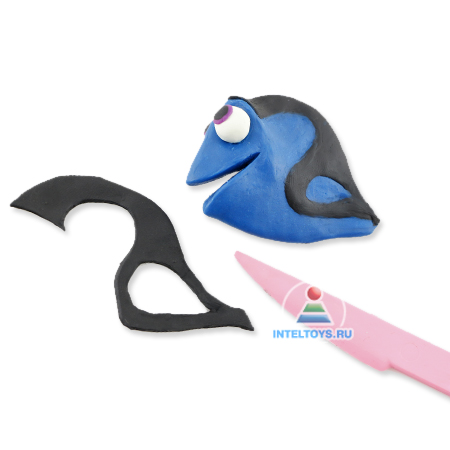
STEP 5. The photo shows why the above-mentioned blue stripe was needed: using a stack, draw the dorsal fin.
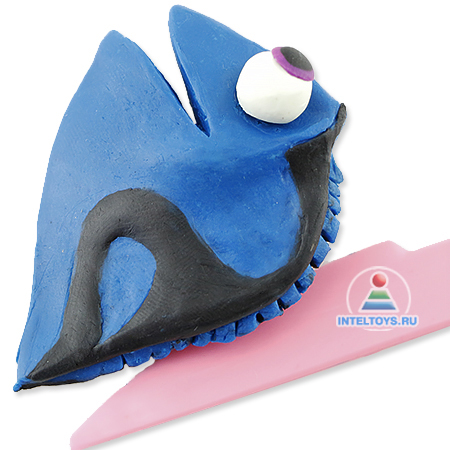
STEP 6. The final decorative touches remain: for the tail, prepare 1 large yellow piece in the shape of a triangle and 1 long black flagellum, and for the side fins - 2 blue cakes, 2 small yellow triangles and 2 short black flagella.
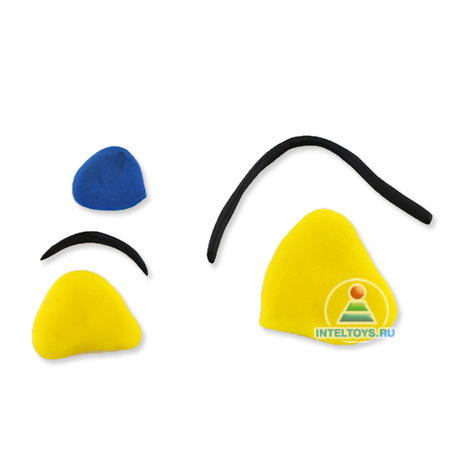
STEP 7. Attach all the listed parts to the toy, as shown in the photo. Using a stack, make characteristic grooves to give the craft maximum realism. Your personal Dory is absolutely ready!

Advice: Try using a hardening modeling compound (for example, Play-Doh, Creatto) or polymer clay as a material. In both cases, your craft will be durable and can be painted to play with friends.
Now you know how to make a plasticine fish step by step, so you can place charming Dory in your home. Start your collection of cartoon characters with it!
Time wisely spent on children is compensated by adults with love, good mood and health. Bringing this motto to life, you can safely take advantage of a master class on making a nice painting. The fish is mastering. Not gold, but plasticine. But that doesn’t make it seem less valuable to you. On the contrary, not only the result of needlework, but also the process itself will unexpectedly please even an adult. The work perfectly develops children's motor skills, attention, accuracy and creative skills. You should not limit your child’s imagination regarding the choice of color and shape of parts. Then his creation can easily surpass what is offered below.
Materials needed for the craft:
- plasticine;
- a sheet of thick cardboard;
- a hard work surface or a special board.
How to make a fish from plasticine.
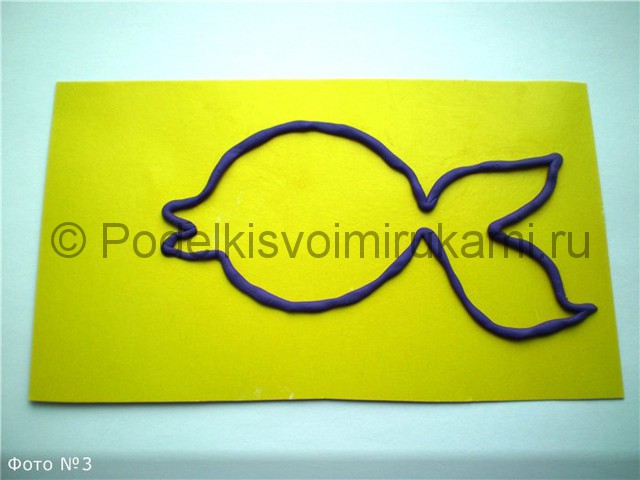
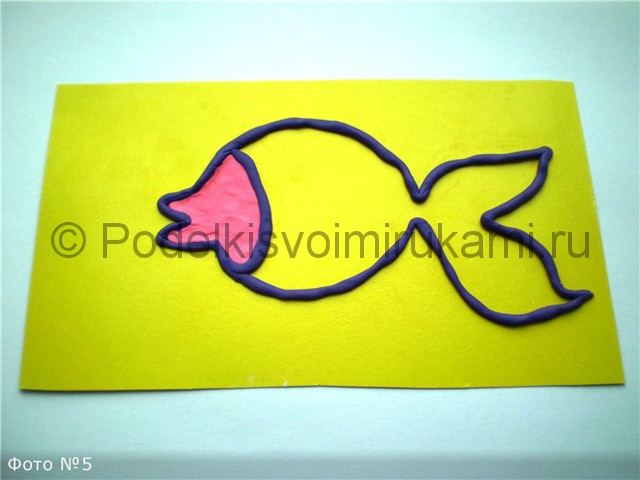
1. Roll out a long thin roller using your hands on a board. It will be used for the outline.
2. The outer contour of the work is laid out from the finished roller on cardboard. Lightly pressed with fingers. If the child does this on his own, you can first draw the fish with a pencil. Then all that remains is to glue the plasticine roller along the intended line.
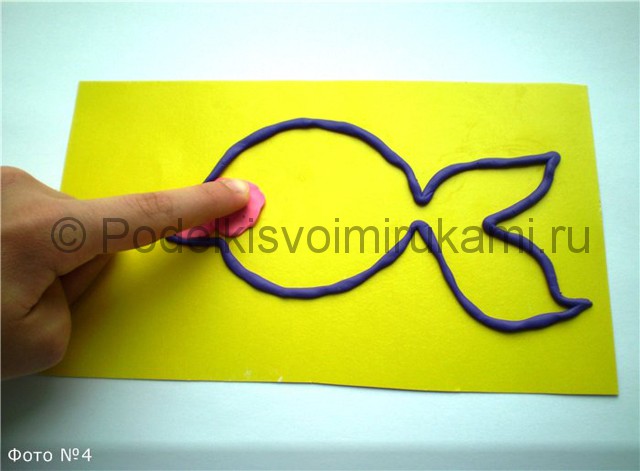
3. Using your hands, knead a small piece of plasticine in a color contrasting with the outline. The head of the fish is outlined: the plasticine is rubbed directly onto the cardboard with your fingers. The head is edged using a previously prepared roller.
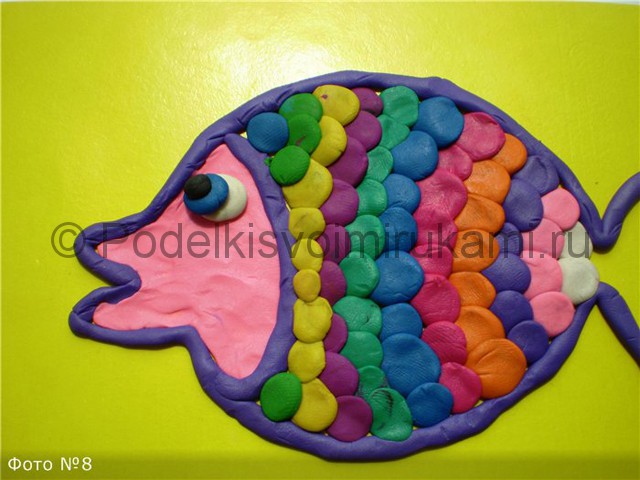
4. The scales are being prepared. To do this, you need several dozen balls of the same size in different colors.
5. Starting from the tail of the fish, scales are glued. This should be done in alternating rows. When placing the ball on the cardboard, you need to press it. Thus, almost real flat scales are obtained.

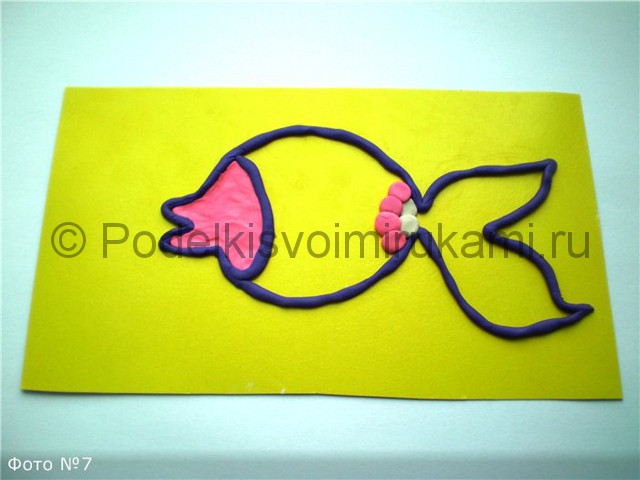
6. Now you need to make the eye. You will need three balls of different sizes: a larger white one, a smaller blue one, and the smallest black one. Glue the balls together in a pile and lightly press them together with your fingers.
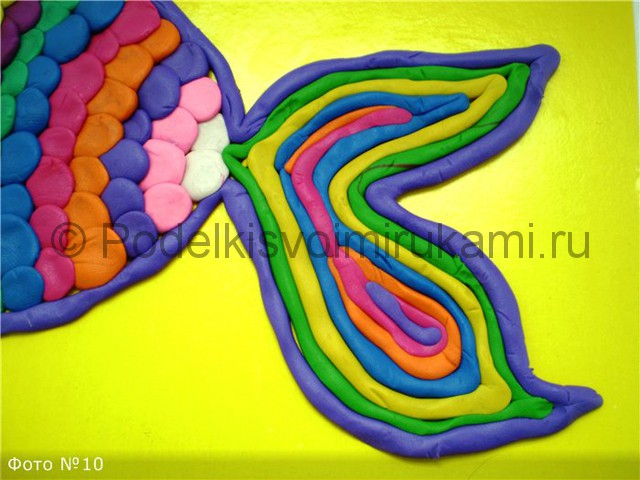
7. The tail and fins are formed. Again, long thin rollers are needed. It's better if they come in a variety of colors.
8. To form the tail, you need to glue the prepared rollers, placing them one after the other along the contour.
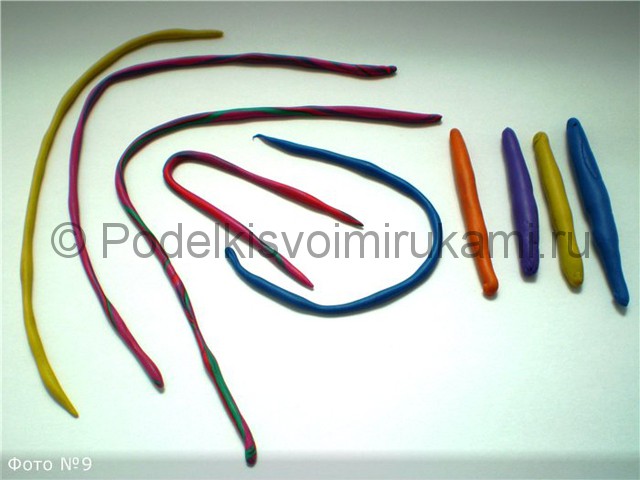
9. Fins are attached in appropriate places. You can add water bubbles.
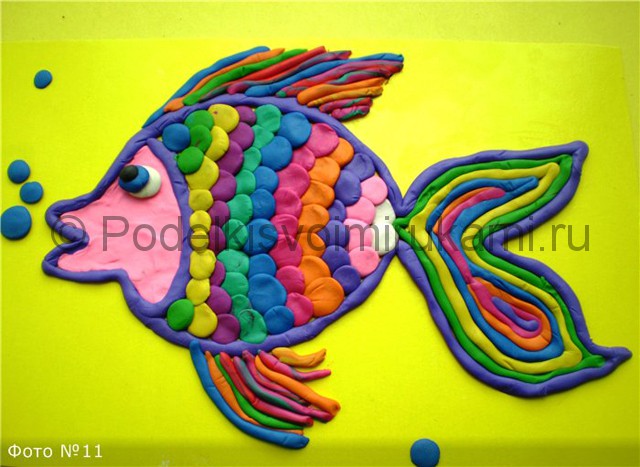
The final look of the craft. Photo 1.
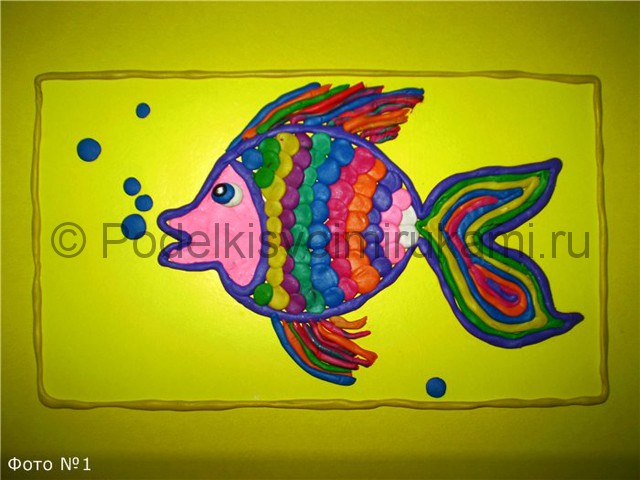
The final look of the craft. Photo 2.
Such a craft is the widest field for imagination. You can add seaweed, stones and shells, treasures from sunken ships and sea monsters- whatever comes to mind. The picture will only benefit from this.
You can create crafts of varying complexity from plasticine. If you are looking for a simple modeling plot for your baby, then try making a plasticine fish. This craft does not require any special skills, so every child over 4 years old can handle it. But still, in some stages of the work you will need the help of a parent. The fish can be made in any shade. You can also experiment and mix several colored blocks at once to create a new, interesting color.
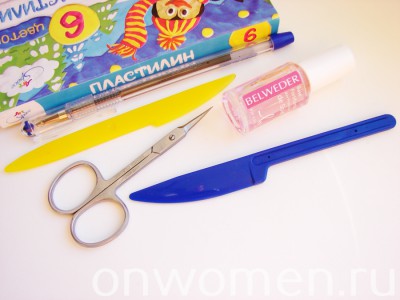
But first, you should prepare everything you need for work:
- plasticine;
- ball pen;
- knife or stack;
- scissors;
- clear nail polish or glossy acrylic polish.
How to make a fish from plasticine
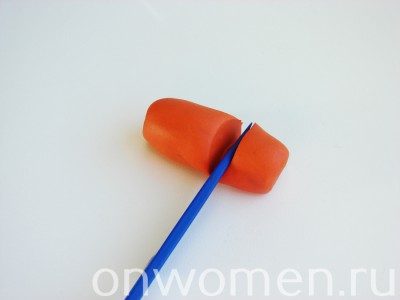
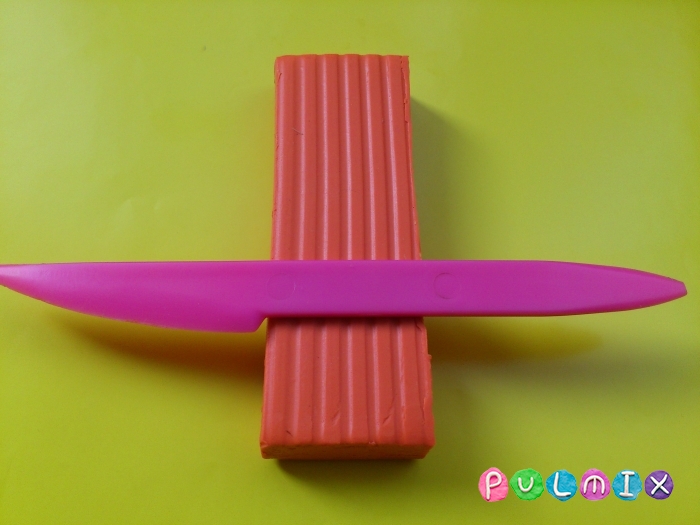
Step 1. To sculpt the fish, we decided to use only one shade of the mass - orange. And if you want to make a goldfish, we recommend adding a little gold acrylic paint to the orange plasticine. Then, thanks to the shimmering particles, the mass will acquire a beautiful golden mother-of-pearl. Roll one block into a thick sausage. Cut off 1/3 of it. 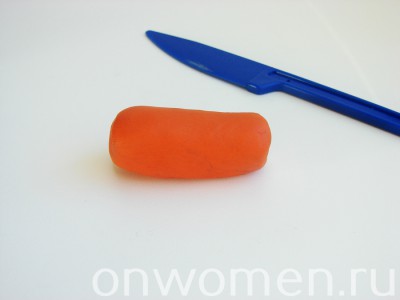
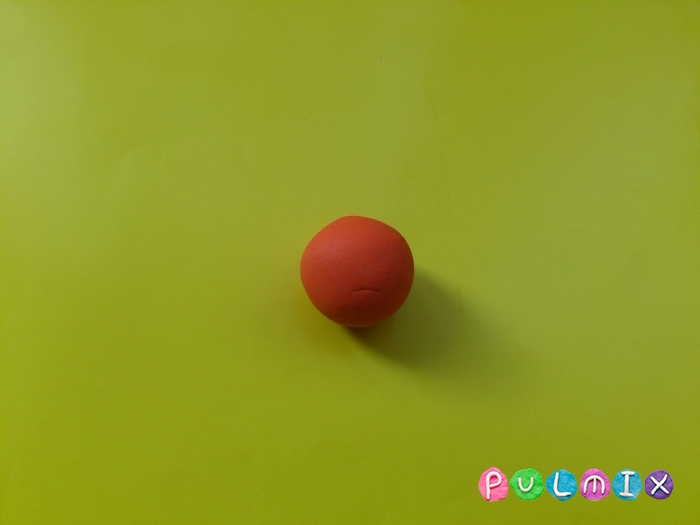
Next, divide a small piece in half. From these blanks we will fashion the fins and tail of the fish. Let's create a base from a large piece. Roll it into a uniform ball. 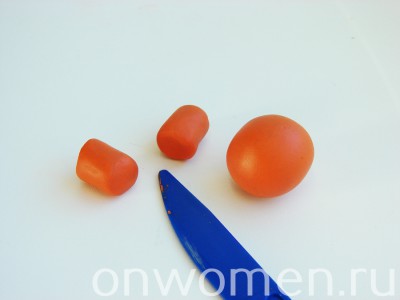
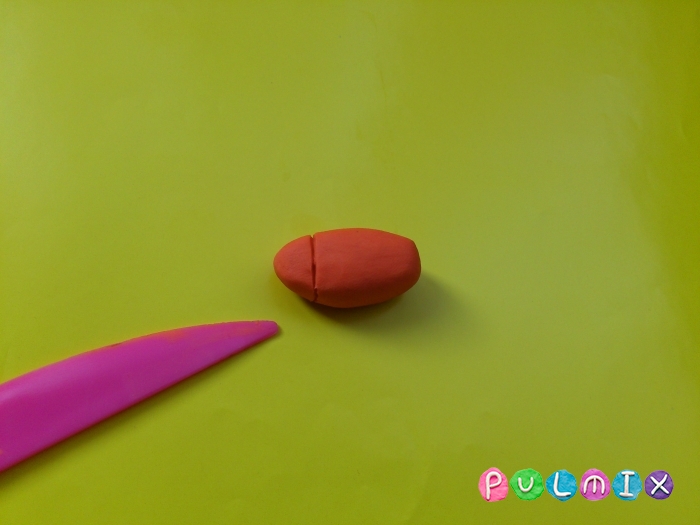
Step 2. So, let's sculpt the tail. Roll any of the two small pieces of the orange mass into a droplet and flatten it with the side of a plastic knife. 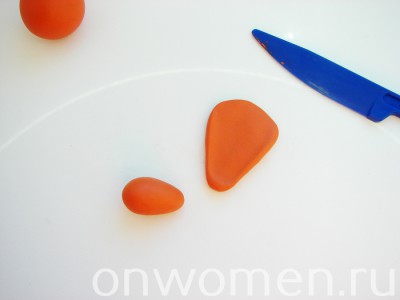
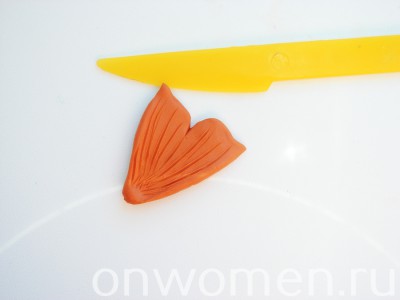
Next, use scissors to cut out a beautiful curved end of the tail. Use a stack or knife to draw a simple texture. 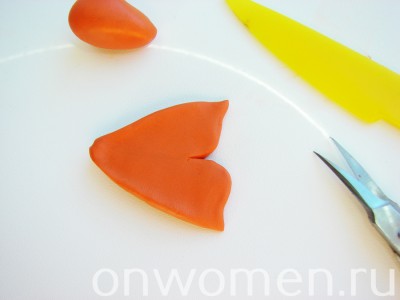
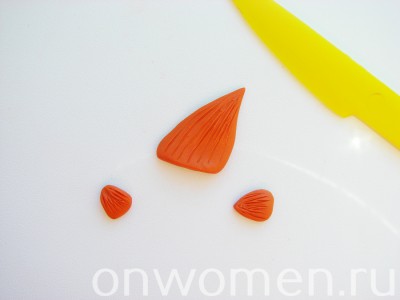
Step 3. From the second piece we create fins - one large and two small. We create on their surface the same texture as on the tail. 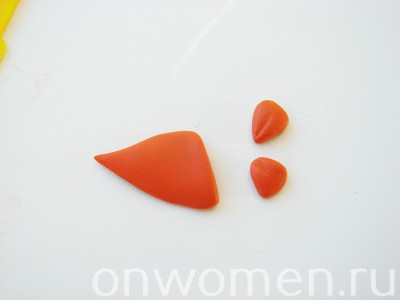
Step 4. Now we move on to drawing the scales on the base. To do this, we need to disassemble the handle, remove the metal tip and pull out the paste. Next, use the tip of a plastic tube to create a semicircular imprint on the ball. 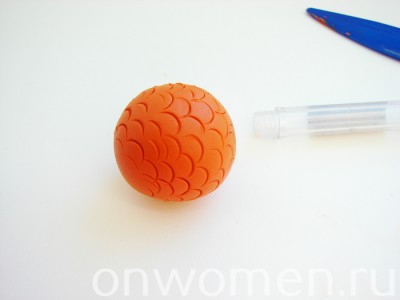
Print Thank you, great lesson +8
Don't have time to go fishing with your child? No problem. If the baby is still small, then such an interesting activity can be replaced. For example, parents can buy their child bright plastic fish, which are very interesting to swim with in the bath. But naturally, the child will be delighted if he is offered to make fish with his own hands. What other material can you come up with to implement this idea, besides plasticine? Their colorful, pliable pieces will make a great fish to play with. Choose any shades of plasticine, but the hardness should be such that it is not tiring for the baby to work with the mass. Other lessons on the topic undersea world:
Step-by-step photo lesson:
The fish can be made of plasticine of any color. One option is enough. You will also need rhinestones or beads to make shiny eyes. The main tool is the stack.
Cut the required amount of plasticine from the block and roll it into a ball.
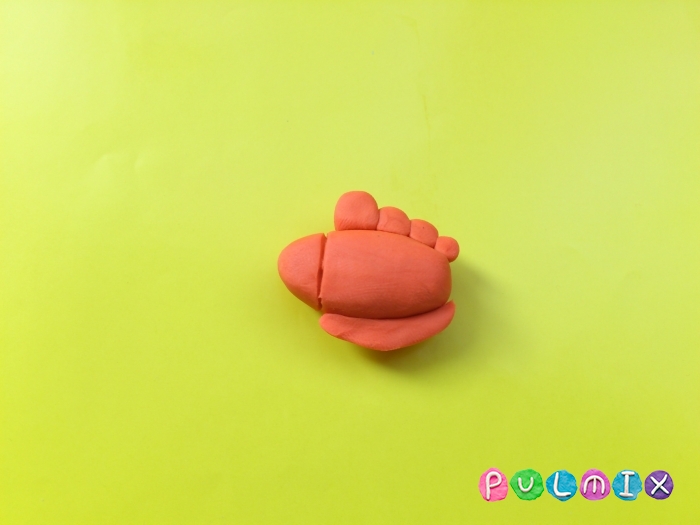
Draw the ball out into a bullet, then lightly press the rounded piece onto a hard surface to make it flatter. Turn one side into a head, marking it with the same stack.
To create the fins, place small cakes on top and bottom in a row.
Use a stack to create membranes on the fins.
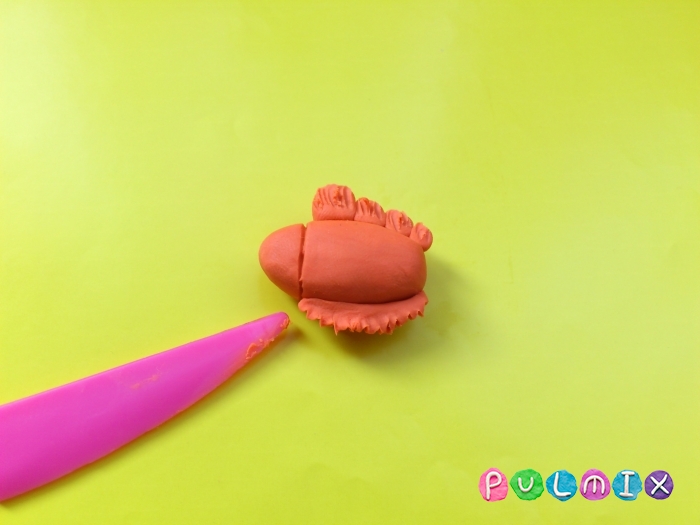
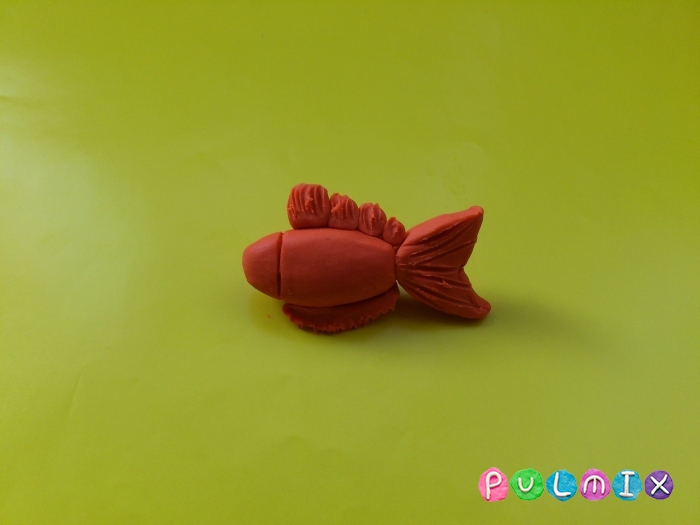
Attach the fish tail to the back, also finishing it with a stack.
Think about how you would like the scales on the fish's body to look. You can stick plasticine on top, placing small dots overlapping. And we suggest simply piercing the soft plasticine with the tip of the stack many times over the entire surface of the craft.
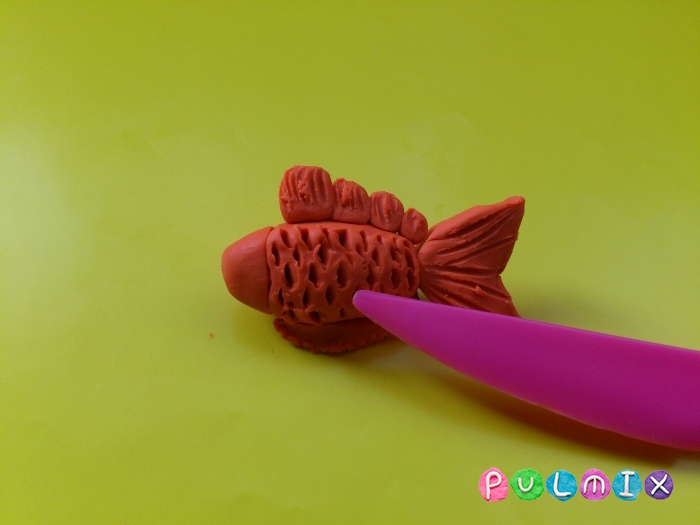
The final touch is the design of the fish’s face. Stick on shiny rhinestone eyes and attach a mouth.
A plasticine fish is ready to surf the waters. Take some water into a children's bucket and put the fish in it. Plasticine does not become limp from water, so such activities can be practiced.