How to make an applique for the big dipper. How to make a bear out of plasticine
Almost every child has a favorite teddy bear that he can play with throughout the day. Today's master class will tell you how to mold a copy of a teddy bear from ordinary plasticine. After completing all the steps indicated in the lesson, you will get a funny toy that you can play. The sculpting process is very simple, so the child can independently perform most work.
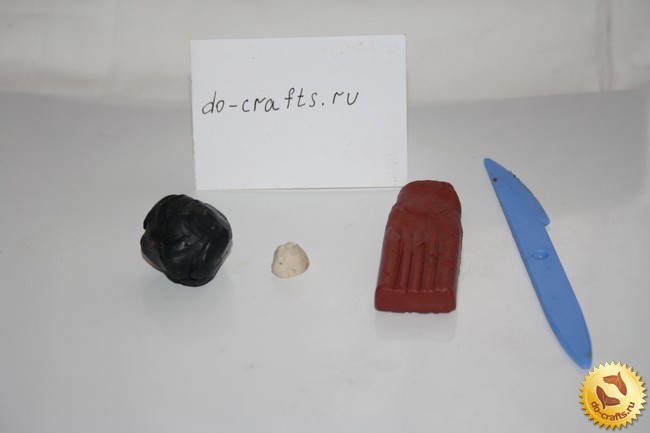
So, for sculpting a bear, let's prepare some materials:

How to make a plasticine bear
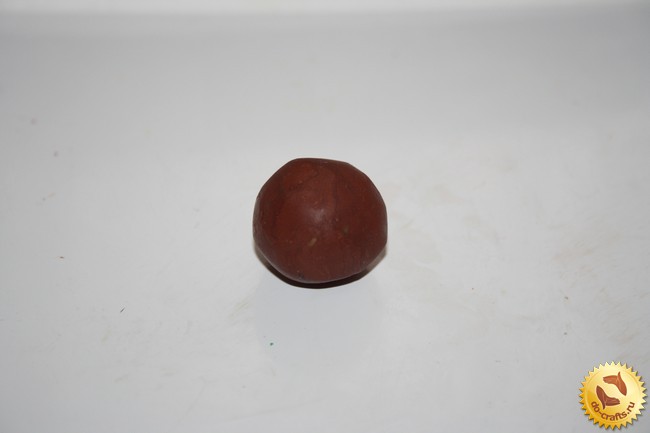
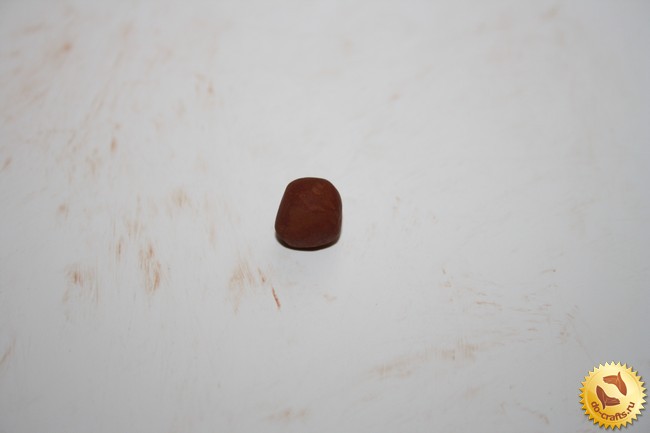
Step 1. Cut off a small piece of mass from a brown block of plasticine and roll it into a ball. 
Step 2. Next, squeeze the top of the ball a little and gradually pull it out to get this figure. 
The body of the bear is ready.
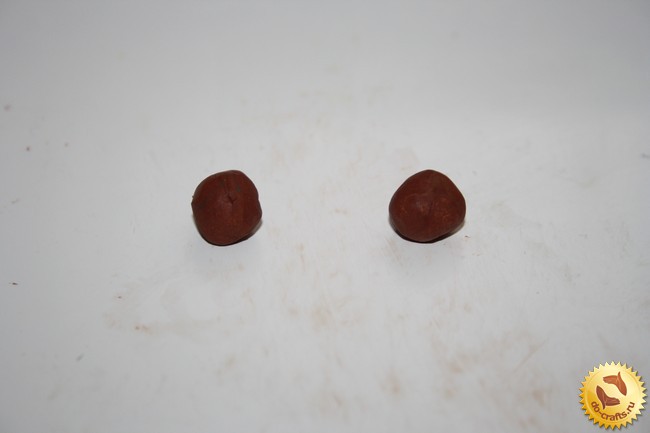
Step 3. Roll another ball of the same diameter as the previous workpiece. 
The head is ready.
Step 4. From light brown plasticine we form an animal's face. First, we roll up a miniature lump of mass, and then flatten it and give it an oval shape. We glue the blank face to the bottom of the head. 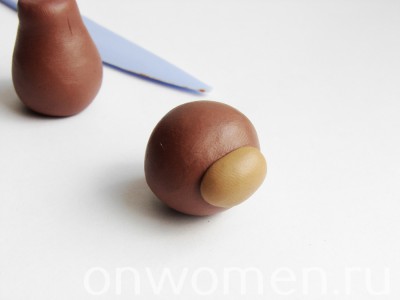
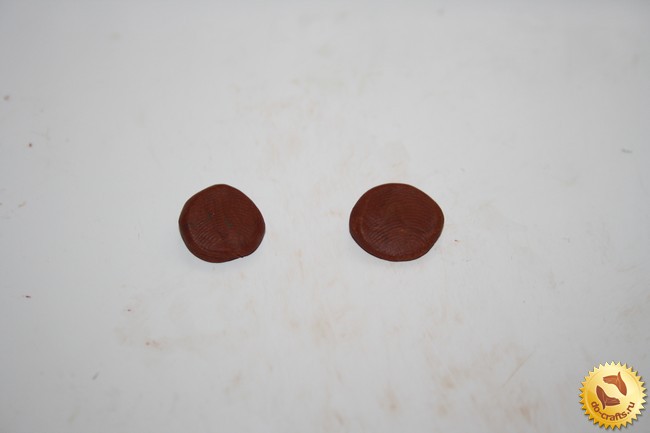
Step 5. We also blind a couple of ears. Flatten the brown ball and cut it in half. 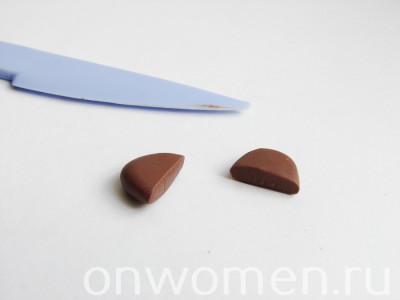
Before we attach the ears, draw basic lines on the head to define the center. 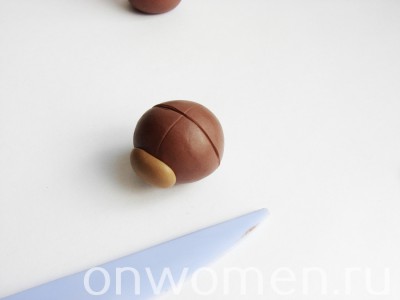
After that, we glue them, stepping back the same distance from the center. 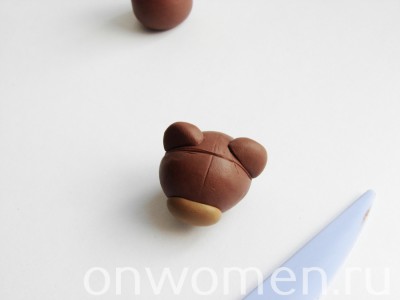
Step 6. We connect all the manufactured parts. 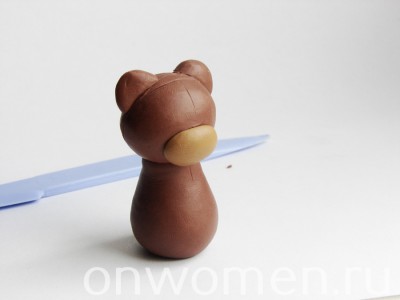
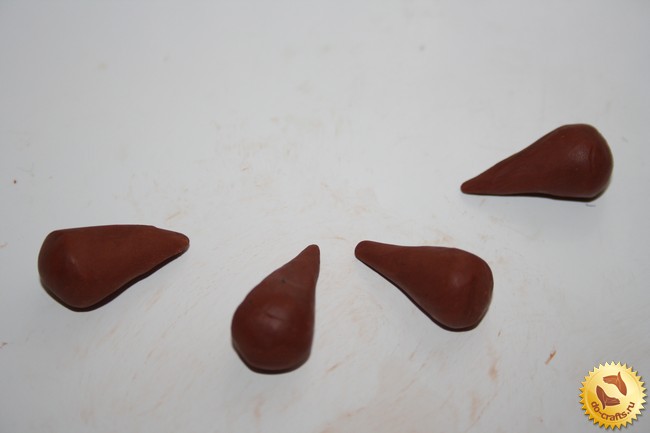
Step 7. Next, we blind two pairs of bear legs. We roll a brown ball into a sausage, divide it in half and form the paws in the form of a droplet from the resulting blocks. 


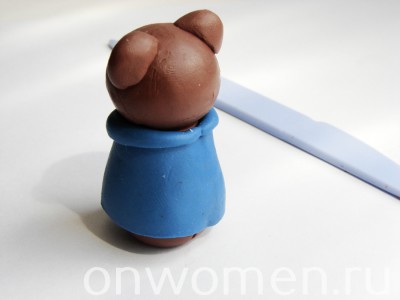
Step 8. Now we will put the bear in a sweater. To create it, you need blue plasticine. Roll out a piece of mass into a strip of uniform thickness. We bend its edge on either side. 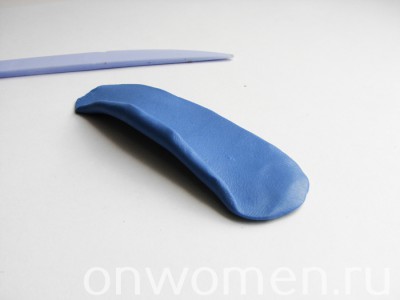
We wrap the body of the bear with the blank, adjusting the bend of the collar in the process. 
We connect the strip on the back of the craft. We carefully cut it off, and smooth the junction with a plastic knife and fingers. 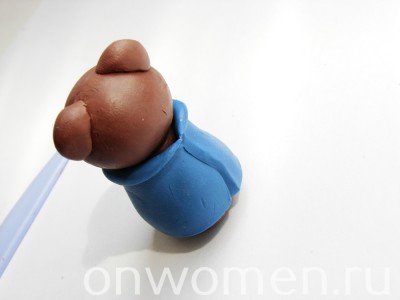
Step 9. We create the sleeves separately, from the blue stripes of a smaller size. We process the legs with them, cut off the excess and rub the seam. 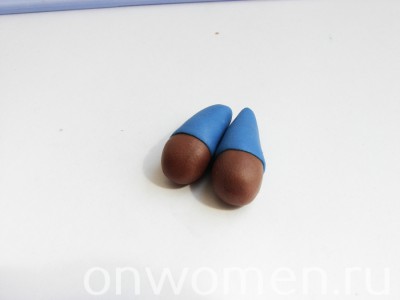
We fix a pair of legs on the base. 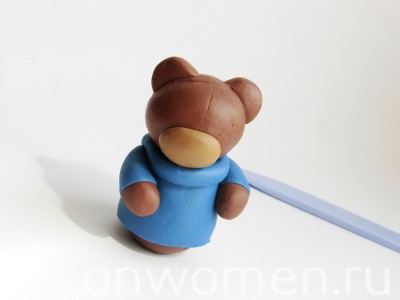
Step 10. Then you need to attach the lower legs. 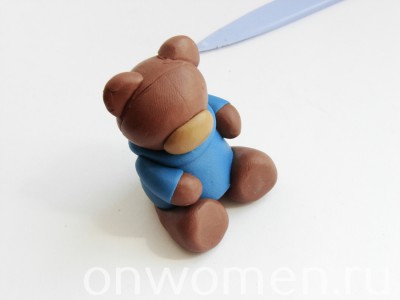
Step 11. The pads of the big paws and the inner part of the ears are complemented with light brown details. 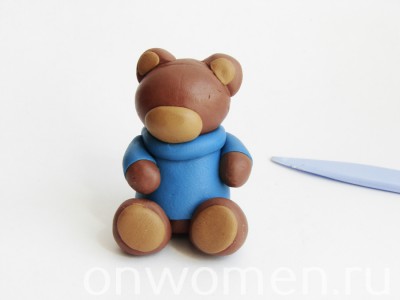
Step 12. Create a nose from blue plasticine, and then place it on the face. 
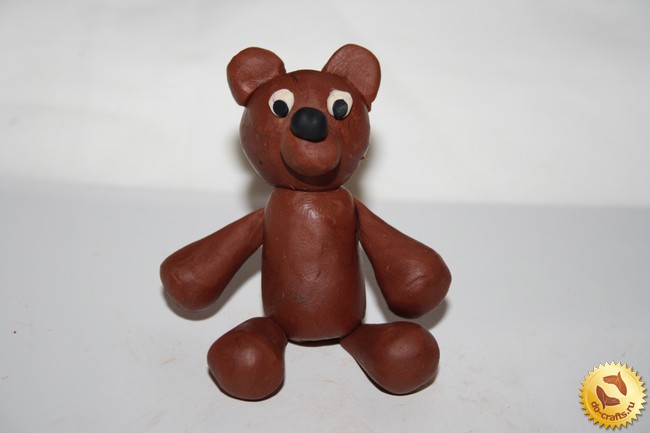
In today's master class with step-by-step photos, I will tell you how to mold a bear from plasticine. Of course, we will do it with our own hands, mainly from brown material. You will also need a piece of black for the legs and quite a bit of white for the eyes. Children are madly in love with bears, this is one of the favorite creations of kids, so do not deny them this and help make the craft. As always, you can use a plastic knife to cut the clay or use your hands to split it, as many do. DIY takes an average of 15-25 minutes. The bear will be sedentary and kind, I took a lesson of medium difficulty.
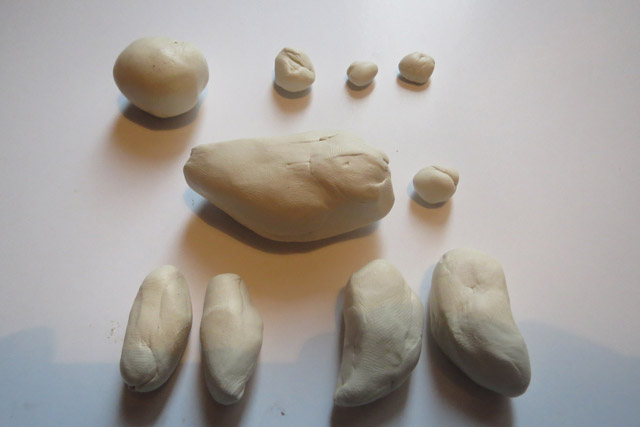
Prepared the material.
Let's start with the head and torso, of course. Roll up a large head ball.
Now we roll a small barrel for the body, it will be slightly smaller than the head, but longer. Moreover, on the one hand, it is slightly narrowed.

We connect two parts, head and torso.

Roll up two balls for the ears. Not too big.
They need to be flattened.
We attach ears to the bear's head, so that they look realistic. We sculpt them a little in an arc.
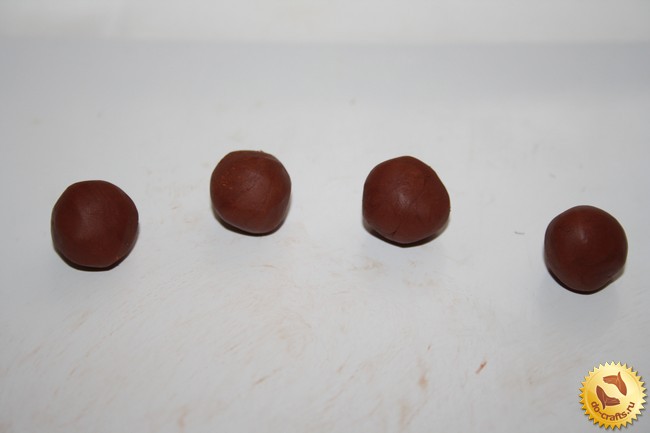
Let's take care of our hands and feet. We roll four completely identical balls.
We sculpt four cones out of them, strongly narrowed on one side, widened on the other.
And, of course, we connect the legs and arms with the body.
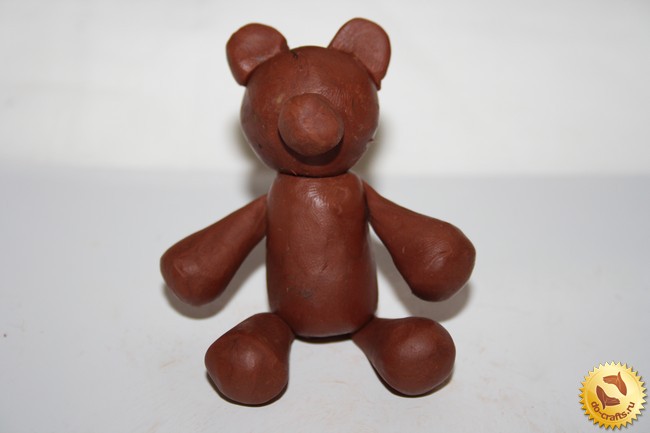
Let's make a small ball for the face.
Stick the ball forward on your head.
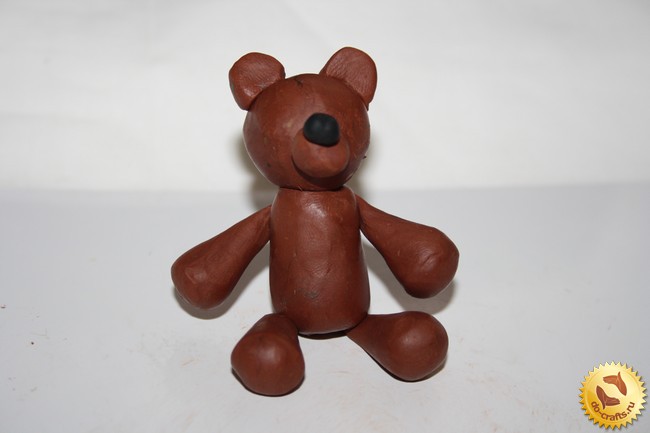
Roll up the black nose with a slightly smaller size.

We put the nose on the face.
Like many other animals, we create eyes. Two balls are white and two black, slightly smaller.
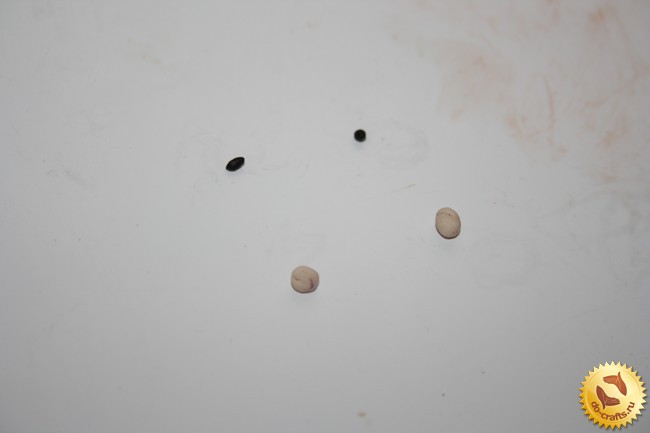
Making eyes on the bear.
Let's take care of the paws. For beauty, I will make the hind legs with toes, and on the front legs there are just small cuts. Roll out two larger and six smaller balls from black plasticine.
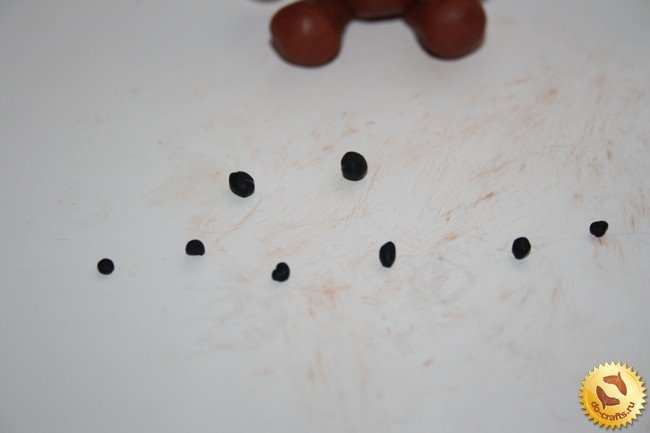
We sculpt a large ball on the foot, and around it three smaller ones, similarly to the other. With a knife we make an incision in the form of a mouth and on the front legs in the form of claws.
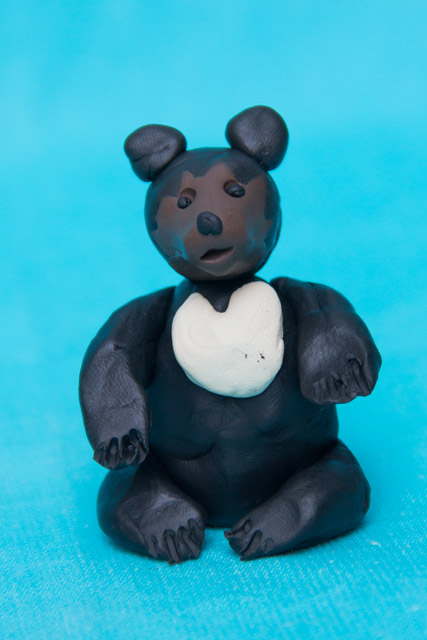
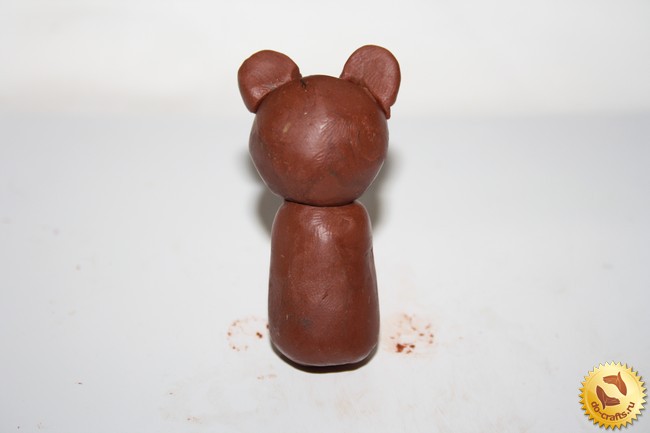
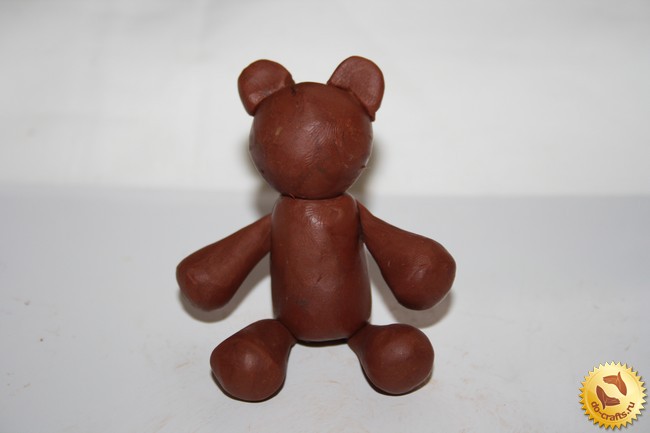
Here is such a plasticine bear, it is very easy and incredibly interesting to make it.

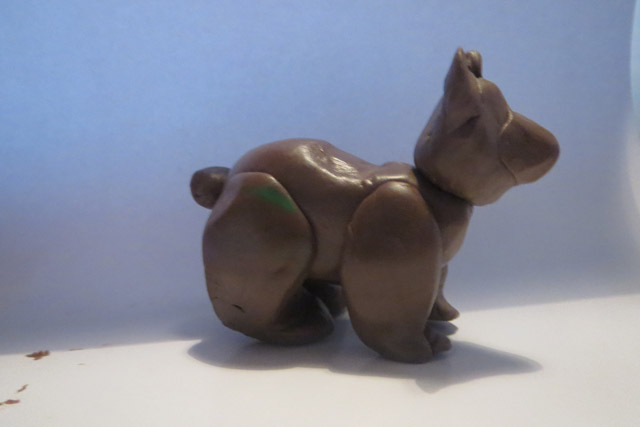
This is how it looks from behind.

Did you know that besides brown and polar bear Are there other varieties of this beast? They come in black and black and white and striped. No, of course, only zebras are striped, but bears meet with a crescent moon and a sun on their chest.
Brown bear and white
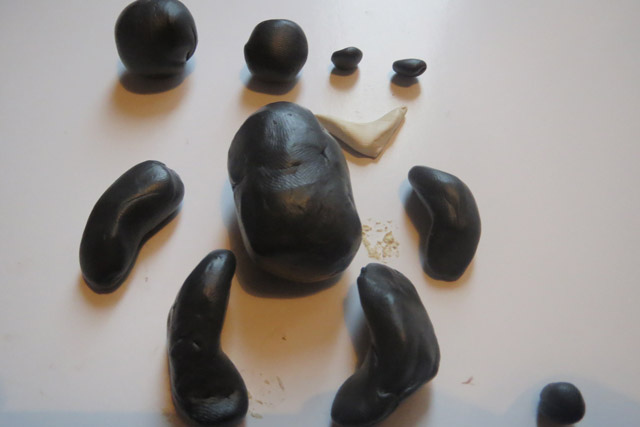
But we will start with the brown bear, the one that we remember from illustrations from Russian folk tales. We begin modeling with the preparation of future parts: head, nose, ears, torso, four legs and a tail. Here negligence is allowed, simplify, the main thing is to separate the material into proportional pieces. Then we connect the parts of the body and separately collect the head. After attaching the ball-nose to the head, you need to smooth out the transition from the nose to the head, this is how the muzzle is formed. We connect the head and torso. I walked over the entire bear figure with a stack. The roughness mimics wool.
We make a polar bear in the same way. Please note that if the brown head and body are rounded, then the white one is more elongated, oval. Both bears have black noses and black eyes made of plasticine balls.


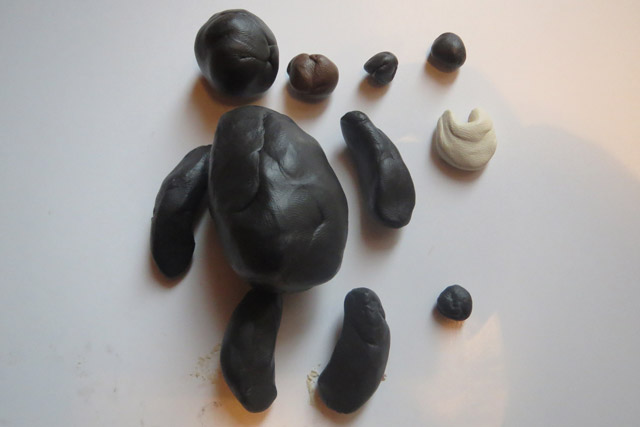
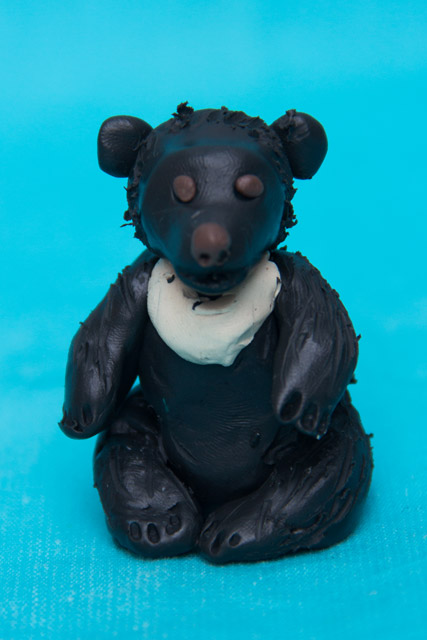
Black bears
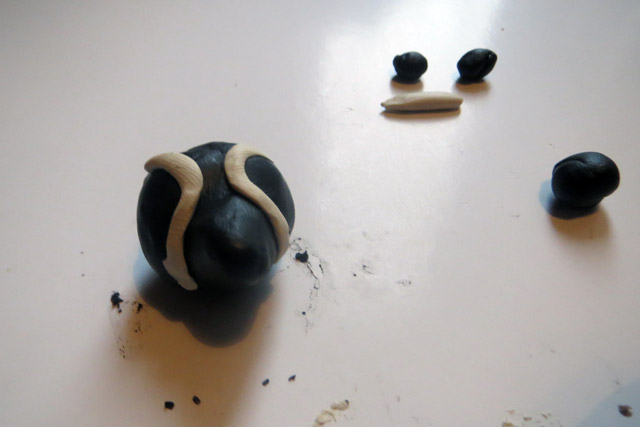
These exotic bears are similar to each other, they are all made from the same type of blanks. We will make the figures seated to make the distinctive features of the bears more noticeable. The Himalayan has a white mark on the breast in the shape of a crescent or the letter "V". In the Malay bear, this sign has a rounded shape. There is also a sloth bear. To do it, simply enlarge the mouth of the Malay and remove the white spot. By the way, we make the mouth of all bears in a stack, which has the shape of a semicircle or a petal. Well, there is no need to talk about the spectacled bear, everything is visible anyway. The glasses are made of thin strips of plasticine. On top of them, strokes are applied in a stack to convey the texture of the wool. Black bears have long claws on their paws, on the plasticine there are strokes drawn with a thin stack or stick.