Modeling lesson. Ladybug, snail, firefly made of plasticine. Plasticine ladybug: sculpting methods.
A couple of years ago I sculpted all sorts of funny things for peds out of plasticine. practices. During the sculpting process I took photographs in order to later make technological tables. The studies are over, the internship is over, but the photographs remain. I had forgotten about them, but my husband reminded me. Like, post it on the blog - it will probably be useful to someone. Sculpt with children, for example, or for other teachers. And I am an obedient wife. I'm posting it.
Today we will learn how to sculpt a ladybug on a leaf. All we need is plasticine, a stack, a couple of beads and a little bit of wire (I used metal fittings - I cut two pins with flat heads into eight pieces). Well, a modeling board will also come in handy so as not to get anything dirty.
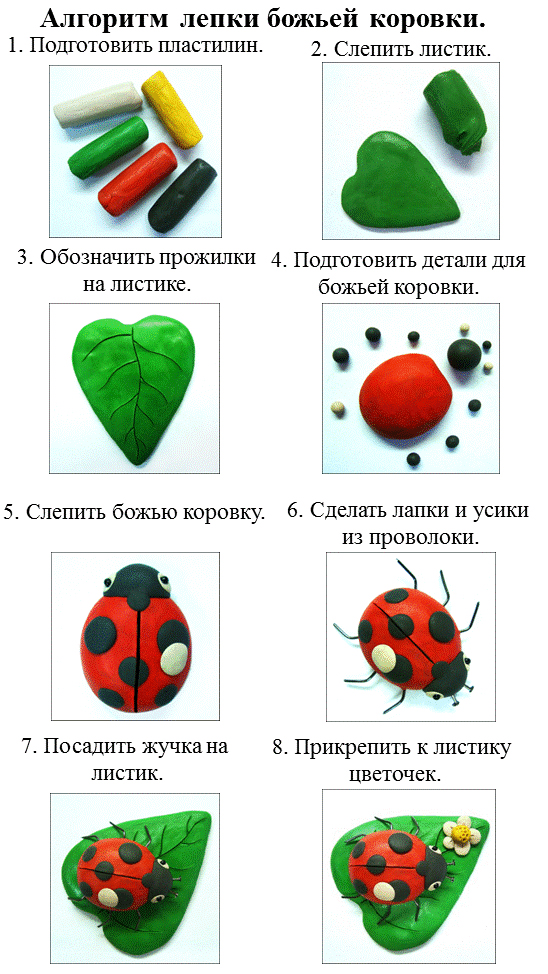
1. Prepare plasticine, if required. I sculpted from old, old plasticine, which itself is very hard. It took a long time to warm it up. Nowadays plasticine is widely available in stores - some of it is quite soft. It is convenient for children to sculpt from this. Although, if a child kneads hard plasticine on his own, this will only benefit him - another reason to practice motor skills.
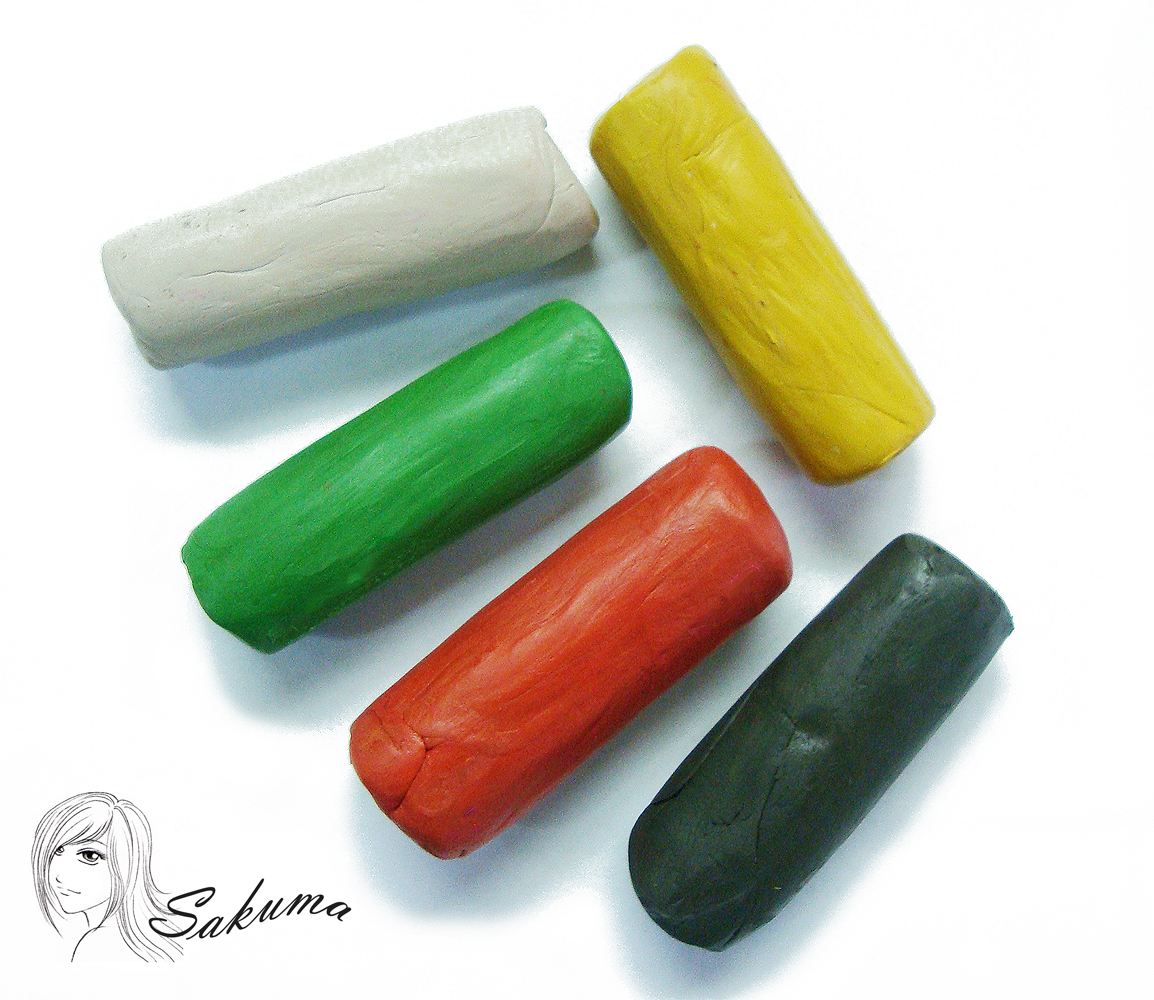
We take plasticine of green, red, white, yellow and black colors:
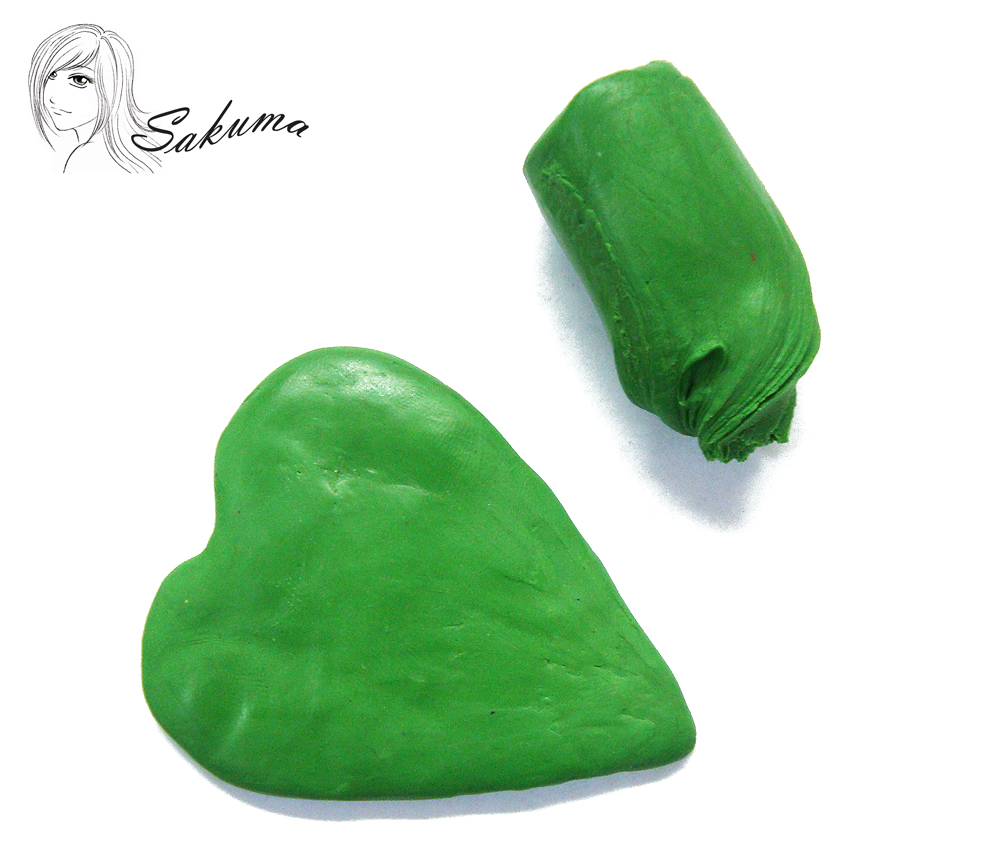
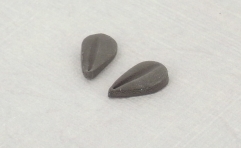
2. We make a leaf:
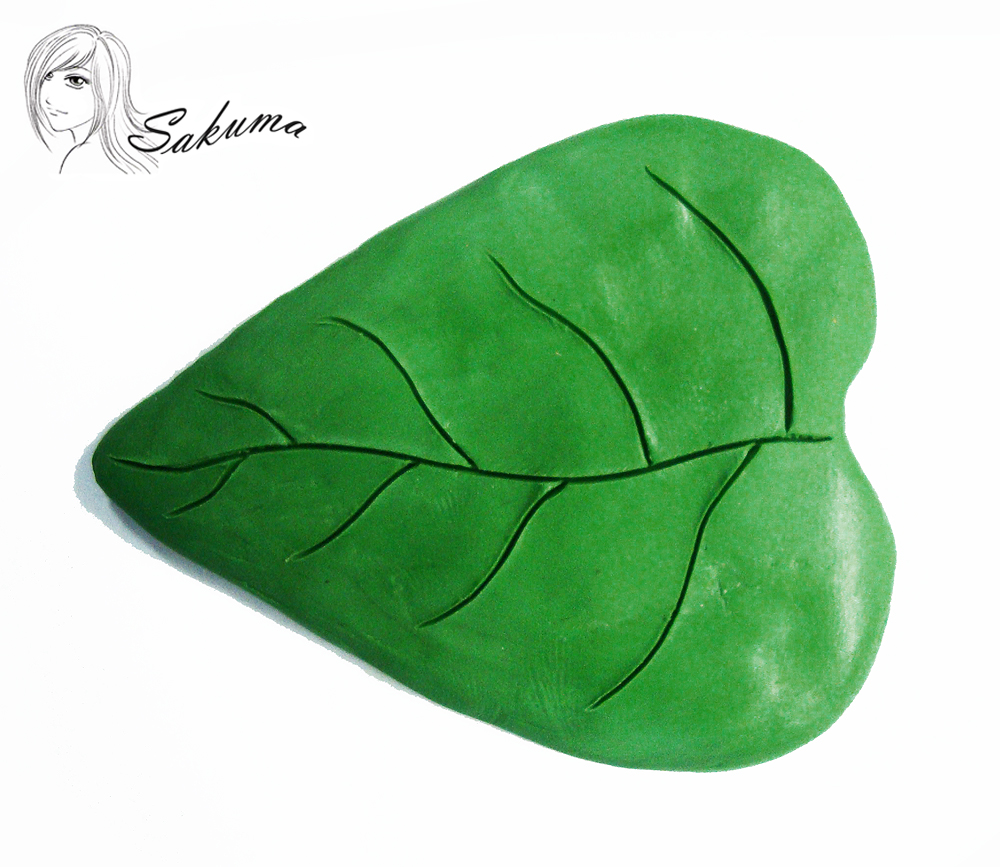
3. Using a thin stack, draw veins on the leaf:
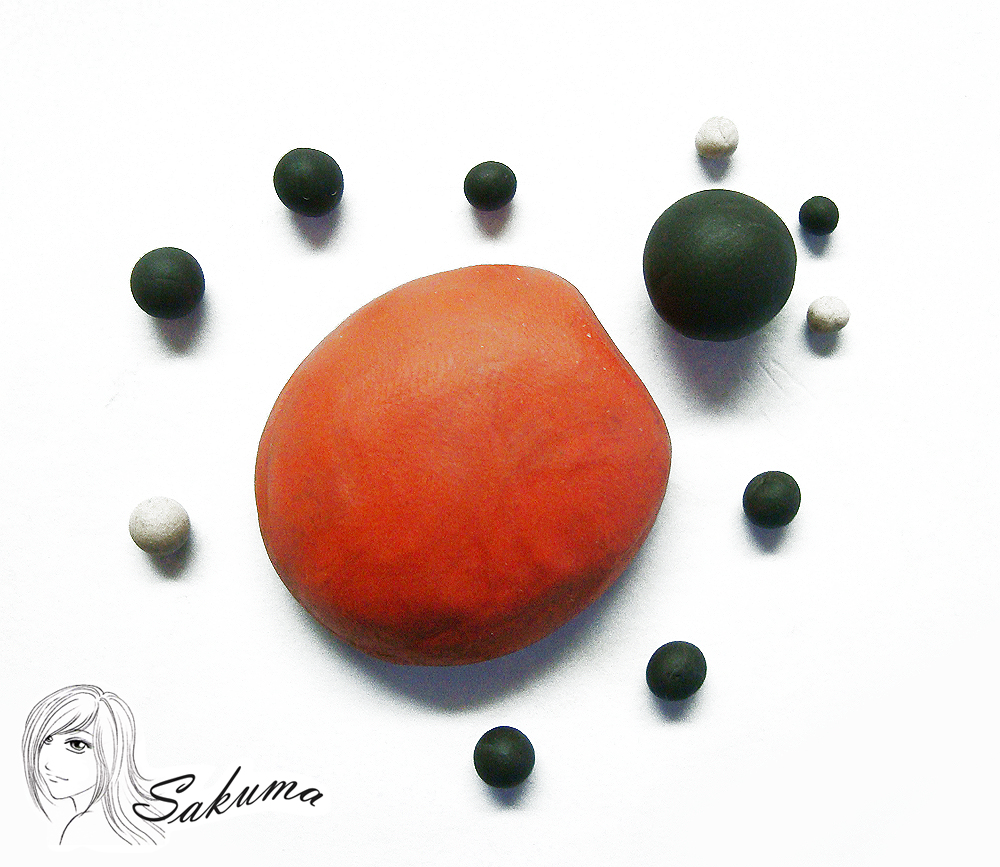
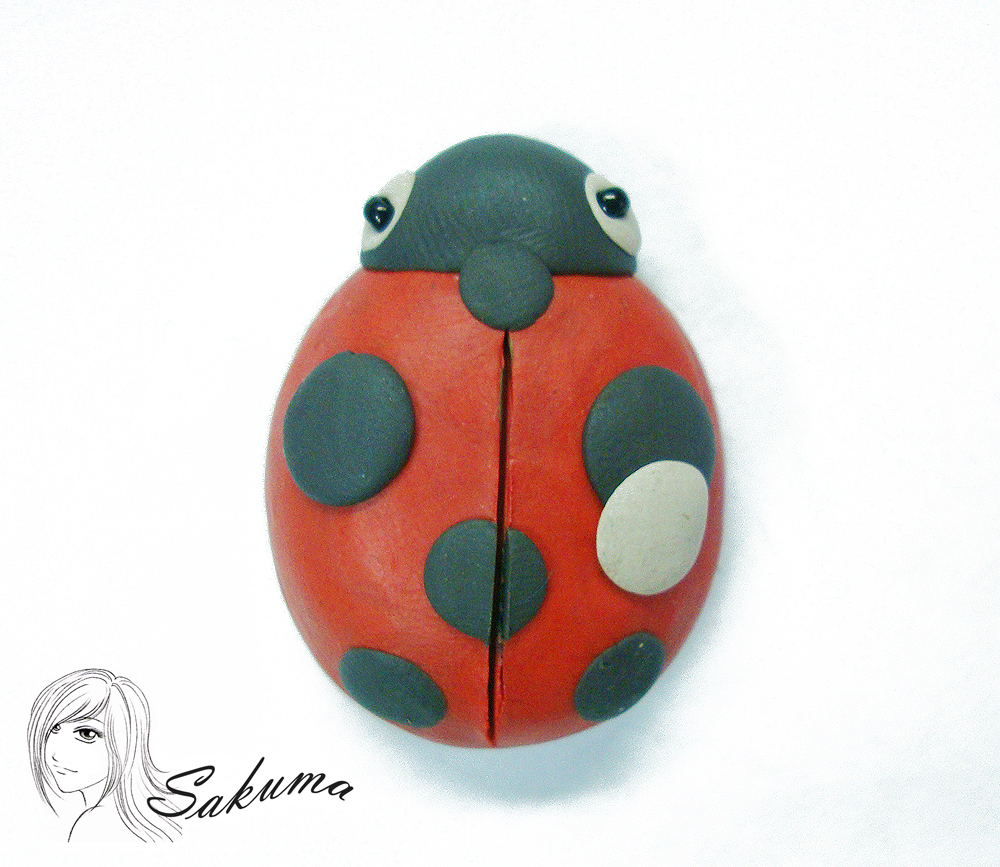
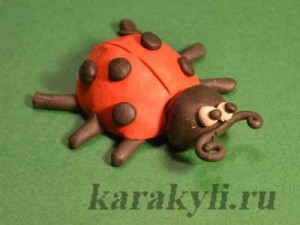
4. Now we form the body of a ladybug from a large piece of red plasticine. Flatten the side of the head a little. Roll one large ball and seven small balls from black plasticine. From white - three small balls:
5. Now the fun begins. We attach the head to the back of the bug. Two white balls represent the eyes. Using beads we make pupils.
Then we decorate the back with black balls, flattening them. We make a highlight out of a white ball.
Using a stack, we divide the back of the ladybug in two:
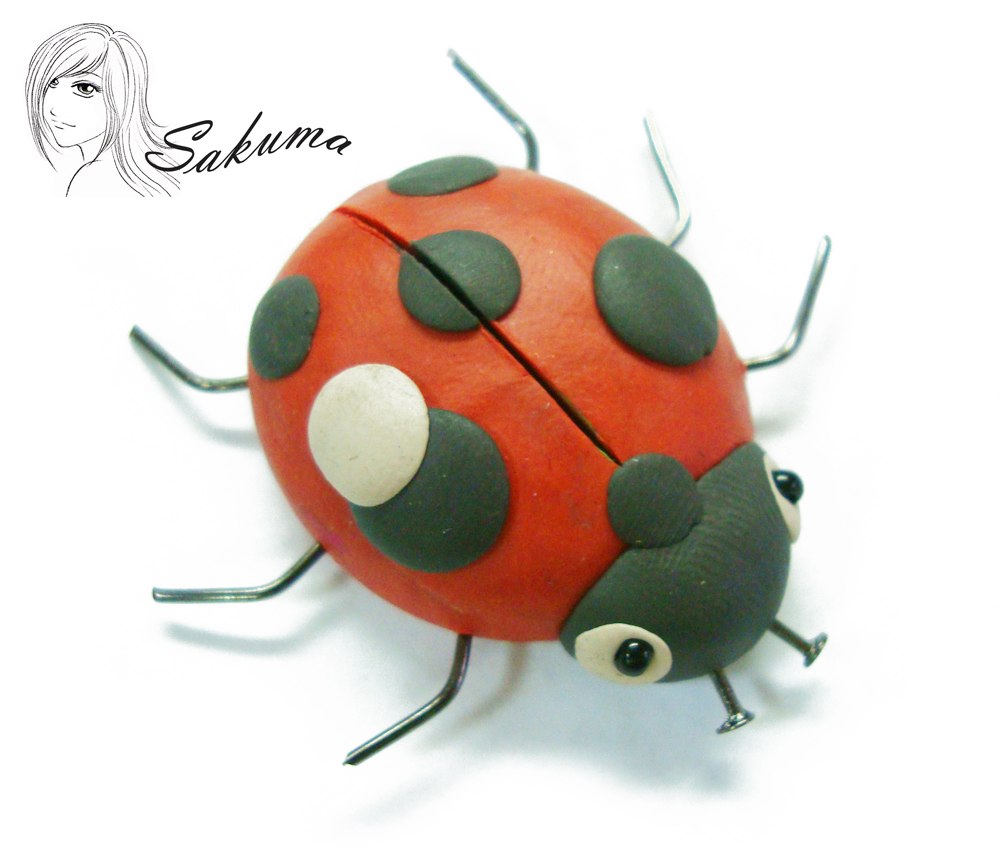
 6. We make paws and antennae from small wires:
7. Now we need to put our ladybug on a leaf. Decorate it with a small flower:
 Ready! We sit and admire the resulting work
And if it’s really clear and convenient, there’s also a ready-made table. The wording “algorithm” irritates me, but it was left over from my studies; there were a lot of cumbersome terms there.
If desired, you can use polymer clay instead of plasticine; in this case, the figurine can be baked in the oven and it will be more durable than one made from plasticine. Just don't give this material to young children. I would recommend it for children aged seven years and older, not earlier.
Another simple and more versatile option is salt dough. It can be painted after the figure is molded, or sculpted immediately from colored dough. This material can be given to children as young as three years old.
This or that insect can cause negative emotions in a person. These are bugs, spiders, caterpillars and others. But funny ladybugs are an exception. Cute creatures always attract attention, especially children's attention. Therefore, children enjoy making ladybugs.
There are many design options for crafts, but the important point is the presence of black and red plasticine. White and green colors are necessary to create the eyes and leaf on which the insect will be located.
Preparing for sculpting
Children's favorite insect is the ladybug. From plasticine, children create various variations of this insect: magical, colored, ordinary.
Modeling is a fun activity for children of any age. Brighten up a weekday evening with activities with your child. Read below about how to make a ladybug from plasticine. It is necessary to purchase good material without impurities or additives in advance. It is advisable to buy plasticine from a reputable manufacturer.
To create a ladybug you need to have:
- plasticine in red, white, black and green colors;
- wire (thin);
- black beads;
- toothpicks;
- modeling board.
Sculpting process
So let's proceed directly to the modeling itself.
First you need to warm up the plasticine by rolling and kneading it in your hands. Roll the red piece into a ball. We give the shape of the body to the ball by flattening it.
From black plasticine you need to make a ball smaller than the red one. The resulting lump needs to be flattened to form a flat abdomen for the ladybug.
Then from a small black piece of plasticine we roll a ball, which will be the head of the insect. We attach antennae to the head, which are also molded from plasticine. In addition to plasticine antennae, you can use wire.
We make the eyes from white material and place them on the muzzle.
We make ladybug legs from black plasticine. To do this, roll small pieces into a sausage.
We take a toothpick and string the body of the insect onto it, and then the head. We do the same with each ladybug’s paw. We string the legs onto a broken toothpick and attach them to the body.
Finally, we create something like wings on the back of the bug. That is, we draw the wings using a stack. In addition, we need black dots on the back if we are sculpting a ladybug. We roll small balls from black plasticine and place them on the bug.
Complete the craft with details such as a leaf or lawn made of material of a suitable color. And your plasticine ladybug is ready!

Additional sculpting option
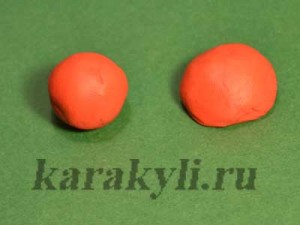
A ladybug is molded from plasticine in the following way: we roll two balls of the same size, connect them together and round the outline. The result is one ball, which will serve as the body of the insect.
We press the body to the board, and then attach the head. Next we attach 6 legs to it, antennae to the head, and eyes to the muzzle.
Folded wings are also created using a stack or a regular pencil by drawing.
The result will be a charming plasticine ladybug.

Show a little imagination, experiment with decorations and body shape. It will be interesting not only for the child, but also for you.
From this lesson you will learn how to make a ladybug, a snail and a firefly. Try making them together with your kids. The work is not difficult at all.
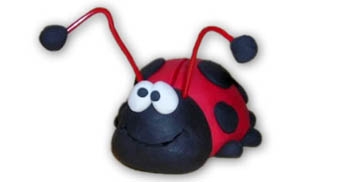
This funny Ladybug seems a little, as they say, crazy because of her crazy look. It is such interesting crafts that attract children.
Roll up a small ball of red plasticine, place it on a flat surface and press down a little - this is a little body.
The cow's head is black, attach it with a toothpick.
Using a toothpick, draw a line along the back, visually dividing the wings. Start gluing black spots - flattened small black balls - symmetrically.
All that remains is to mark the mouth, glue on the eyes and make horns out of red wire.
Small snail made of plasticine
It’s very easy to sculpt a snail, but this option involves a multi-colored shell.
It is while making such simple crafts that you can teach your child to use several colors at once.
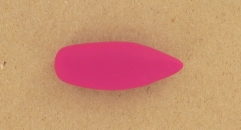
Sculpt the snail's body, attach the eyes and make a hole in the back to insert the shell.


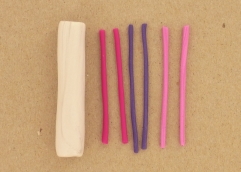
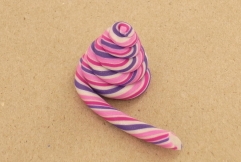
Shell: Take a thick sausage of the main color and cover it with thin sausages of different colors, as shown in the photo.
Roll out and twist slightly (at the same time, teach your children how to make lollipops from plasticine).
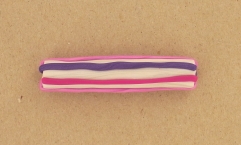

Roll up the shell and connect it to the body.
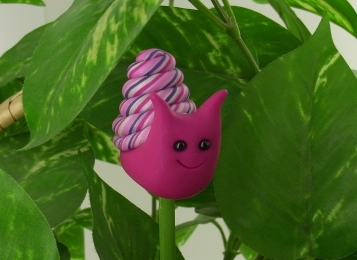

Firefly made of plasticine
The firefly's body consists of two balls - a larger white one (the part that glows) and a smaller green one.
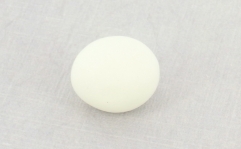
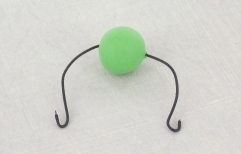
Sculpt the head, connect the parts together.
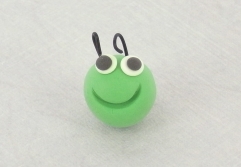
Make horns and legs from black wire. The final touch is the wings.

Ladybug is a simple and bright model for modeling with children from plasticine. This insect enjoys good fame among all nations. Our closest neighbors - Belarusians, Ukrainians, Slovaks - affectionately call her “Sun”. Tajiks call her “Redbeard Grandfather”. In English-speaking countries - England, USA, South Africa - the name of this bright beetle is “Lady Bird”. In South America it is called "St. Anthony's Cow", and in Germany and Switzerland "St. Mary's Beetle". Such respectful or affectionate names were given to the ladybug for a reason. People have long noticed that where there are a lot of these beetles, there is a good harvest. The fact is that the ladybug is not only a beautiful, but also a very useful insect. Both the adult beetle and its larvae destroy the crop pest - aphids. To combat this field pest, it was even brought from Europe to America. Ladybug was not found there before.
We offer you two options for modeling a Ladybug from plasticine. The first - simple - option is suitable for working with preschool children in the senior or preparatory group of a kindergarten. The second option is for older guys.
A simple plasticine ladybug - modeling insects with children from 5 years old
For work we will need black and red plasticine. You will need a very small piece of white plasticine.
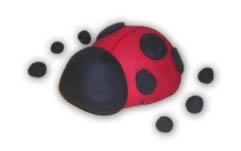
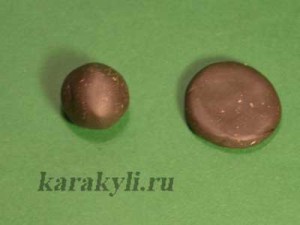
We roll a ball out of red plasticine and, pressing it firmly against the table, give it the shape of a hemisphere (gingerbread).
Roll a ball out of black plasticine and apply it to the body. Using a stack, draw a line on the shell, dividing it in half and forming two wings.

Let's roll a sausage out of black plasticine, divide it into six segments and make the legs of a ladybug out of them.

Roll six small balls from black plasticine and stick them onto the wings, slightly flattening them. Let's mold the antennae and eyes. The plasticine ladybug is ready!
Ladybug from plasticine - modeling insects with children from 5 years old.
Ladybug from plasticine - modeling insects with children from 7 years old
This model is a little more complicated than the previous one. Here the Ladybug “opened” its wings. For work we will need red, black and white (a little) plasticine.
Roll a ball out of black plasticine and flatten it into a cake.
From a piece of black plasticine we roll a long thin sausage-flagellum and, dividing it into three parts, stick it to the black pancake base.

Let's turn the figure over and “put” it on the legs we just sculpted. Roll a ball out of black plasticine and apply it to the body. This is the head of a ladybug.

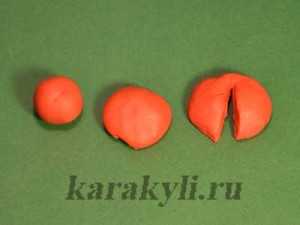
Roll a ball out of red plasticine and, pressing it from below with your fingers, form a hat, as with. The diameter of the “hat” should approximately correspond to the base of the ladybug’s body. Cut the resulting “hat” into a stack in the middle.
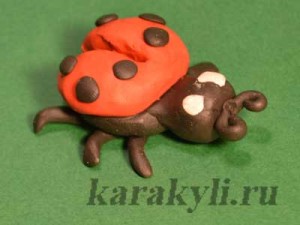
Let's stick the red wings to the base of the ladybug.
All that remains is to revive and decorate our ladybug. Let's roll up the flagellum, “curl” it and make antennae. Roll six small black balls, flatten them and stick them on the wings. From two pieces of white plasticine we will make two false eyes. Here is another Ladybug made of plasticine!
Ladybug from plasticine - modeling insects from plasticine with children from 7 years old.
Using similar techniques, you can make other beetles from plasticine with your children.